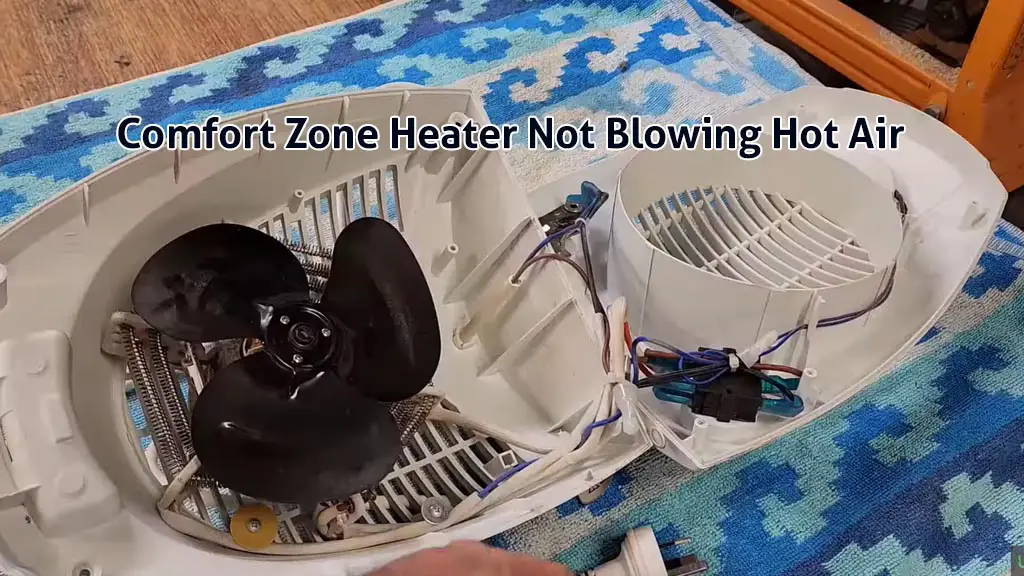
The main reasons behind a Comfort Zone heater not blowing hot air are:
- Heating element issues.
- A dirty fan.
- Fan motor issues.
- Bad pressure switch.
- Malfunctioning thermal cutoff.
Don’t worry, I won’t just talk about the problems and leave you hanging. In fact, I’ll go over each of these problems and solutions in detail. So, let’s dive right in!
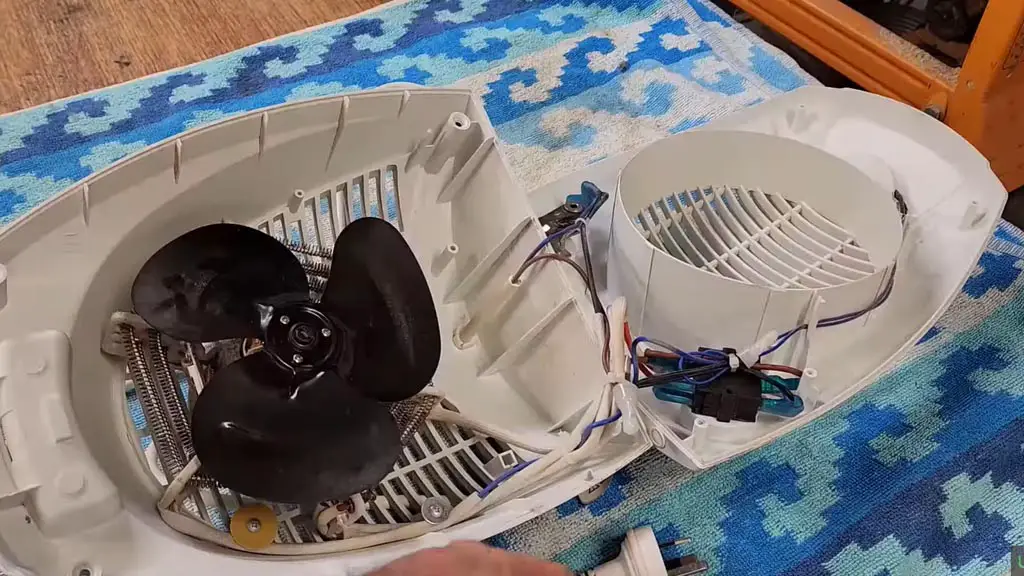
Comfort Zone Heater Not Blowing Hot Air [5 Easy Fixes]
I’ll talk about all the reasons why you aren’t getting hot air from your Comfort Zone heater in this section.
1. Heating Element Issues
A problem with the heating element can easily lead to the Comfort Zone heater blowing cold air. A friend of mine recently installed a new heater in his garage. It was connected to a 240-volt outlet with a 50-amp circuit, using the recommended 6/2 wiring.
The unit powered on, and the fan worked perfectly, but instead of producing heat, it only blew cold air. I initially thought it might need a 60-amp plug or that a fuse might be the issue.
However, after further inspection, I found out that the heater is designed to work with a 50-amp connection, so his setup was correct.
That’s when I realized that the problem was due to the heating element not functioning properly. There are a few common reasons behind this. They are:
- A short circuit or disconnected wire inside the unit.
- A tripped safety mechanism requires the heater to be reset.
Solution:
So, how do I fix the fan heater when it’s blowing cold air? Now, the fix depends on what the problem was in the first place. So, here’s how I would troubleshoot this issue and fix it:
Step 1: Inspect the Internal Wiring
First, turn off the power to the heater and open up the unit. Check the wiring for any loose or disconnected connections. Sure enough, one of the wires leading to the heating element was disconnected in my friend’s case.
Step 2: Reattach the Loose Wire
Using a screwdriver, I carefully reconnected the loose wire to the heating element. Ensuring a secure connection was important to avoid further issues. If you detected a loose wire in your case, you can do the same thing.
Step 3: Reset the Heater
After reconnecting the wire, reset the heater. Since there is no button in Comfort Zone heaters, you’re going to have to reset the heater manually.
How To Reset A Comfort Zone Space Heater?
Resetting the Comfort Zone heater is technically just restarting it. Here are the steps to do it:
- Turn off the heater at the breaker and leave it off for 15 minutes.
- This allows the system (the BIOS) to reset properly.
- After 15 minutes, turn the breaker back on.
That’s all you need to do to reset the heater. Sometimes, resetting the heater alone will fix the issue. So, give it a try from time to time if you have any issues with your heater. It’s really a lifesaver at times.
Step 4: Test the Heater
After you’re done with all the steps, power the heater back on and see if it’s working properly. My friend’s heater started working just fine and started blowing hot air.
So, that’s all I had to do to fix the issue. But if the heating element wasn’t the problem in your case, there are some other potential causes behind it. You need to keep on troubleshooting until you fix it.
2. Dirt & Debris
Another common reason behind your Comfort Zone heater blowing hot air is the buildup of dirt and debris in it. You see, these heaters collect dirt with time. At one point, the amount of dirt becomes too much for the fan to spin freely and produce hot air.
The speed of the fan gets slower, and that’s what causes the fan to not produce sufficient hot air. A common sign that you have too much dirt is that the heater will start producing a bad smell.
Apart from that, when it gets too dirty, you’d also be able to see it visually and tell that it’s too dirty. It’s not a good idea to keep using your heater in this condition. So, you should try to fix it as soon as you can.
Solution:
The fix is simple—you’d have to clean the fan. I suggest disassembling the heater and cleaning the fan. Use a brush to get most of the hair and other dust out of the fan. It’s not a bad idea to vacuum the fan altogether to get the dirt out of it.
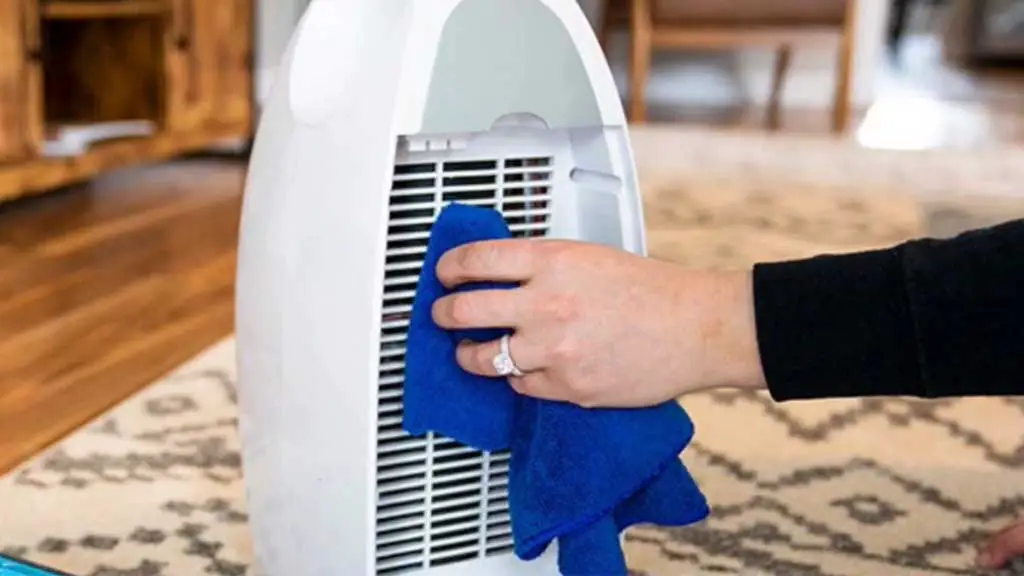
But make sure to be gentle around the motor area, as you don’t want to damage it. Doing this fix should solve the issue. When you’re done, lubricate the fan so that it runs well in the long run.
Working on space heaters can be risky. Many users emphasize the dangers of attempting DIY repairs, especially if you’re not experienced with electrical components. So, don’t attempt cleaning the fan on your own if you’re not experienced working with them.
3. Fan Motor Issues
Is your Comfort Zone space heater blowing cold air even after the first two fixes? If that’s the case, then it’s likely due to a faulty fan motor. Sometimes, the capacitor of the fan can fail and cause this issue as well.
Solution:
If the capacitor has gone bad, you’d have to replace that. If the motor is faulty, you’ll have to replace it. Now, it can be a challenge to get both the right part and then have the knowledge to replace it.
Remember that a damaged or poorly repaired heater can increase the risk of a fire. If the issue is with the capacitor or another electrical part, it’s best to avoid fixing it yourself unless you have the right tools and knowledge.
But if you’re confident that you can replace it yourself, feel free to take on the challenge. However, I have to say that if I were you, I would probably look for a new space heater rather than go through the hassle of the replacement.
4. Bad Pressure Switch
Another reason behind your Comfort Zone heater not blowing enough hot air is a faulty pressure switch. The pressure switch is a critical safety feature that ensures your home stays protected from dangerous conditions like gas leaks and backdrafting.
Located near the motor, the switch shuts the furnace off if it detects improper pressure levels created by the draft inducer motor. This prevents harmful exhaust fumes from being reintroduced into the system and stops the furnace from cycling during mechanical failures.
However, a malfunctioning or tripped pressure switch is a frequent cause of furnace issues. Common reasons for such problems include:
- Over time, the switch may give inaccurate readings or cause improper furnace cycling.
- Holes, tears, or stiffness in the diaphragm can prevent the switch from working properly.
- Dust and dirt can cause the switch to jam.
- Hoses connecting the draft inducer motor to the pressure switch may get clogged or damaged, disrupting the switch’s function.
To identify if the pressure switch is the issue:
- Use an ohmmeter to check both terminals of the switch. A zero or near-zero reading is normal, while a high reading indicates failure.
- Alternatively, test the voltage between each terminal and ground using a voltmeter. The voltage should be between 24 and 28 volts DC.
- Inspect the hose port or vacuum tubes for clogs, cracks, or damage, as these can cause the pressure switch to trip or fail.
Solution:
If the pressure switch is faulty, you’ll have to replace it. Follow these steps to replace the device safely:
Step 01- Turn Off the Power
Switch off the heater and flip the breaker that powers it. This ensures safety during the process. Remove the combustion chamber cover, usually found on the heater’s upper section.
Step 02 – Remove The Old Switch
Locate and disconnect the wires connected to the pressure switch. Detach any vacuum tubes attached to the side of the switch. Unscrew the switch from its mount on the draft inducer motor. Gently lift the old switch out.
Step 03- Install the New Switch
Slide the replacement pressure switch onto the motor and secure it with screws. Reconnect the wires and vacuum tubes to the new switch. Restore the power and test the heater when you’re done.
Replace the combustion chamber cover and turn the breaker back on. Set the thermostat to call for heat and monitor the furnace to ensure it operates smoothly. By replacing the faulty pressure switch, you can resolve the furnace issue and restore safe and efficient heating to your home.
5. Faulty Thermal Cutoff
When the fan in a Comfort Zone heater doesn’t work properly, the issue often lies with a faulty thermal cutoff or a loose connection. The job of the thermal cutoff is to turn off the power supply if the heater is overheating.
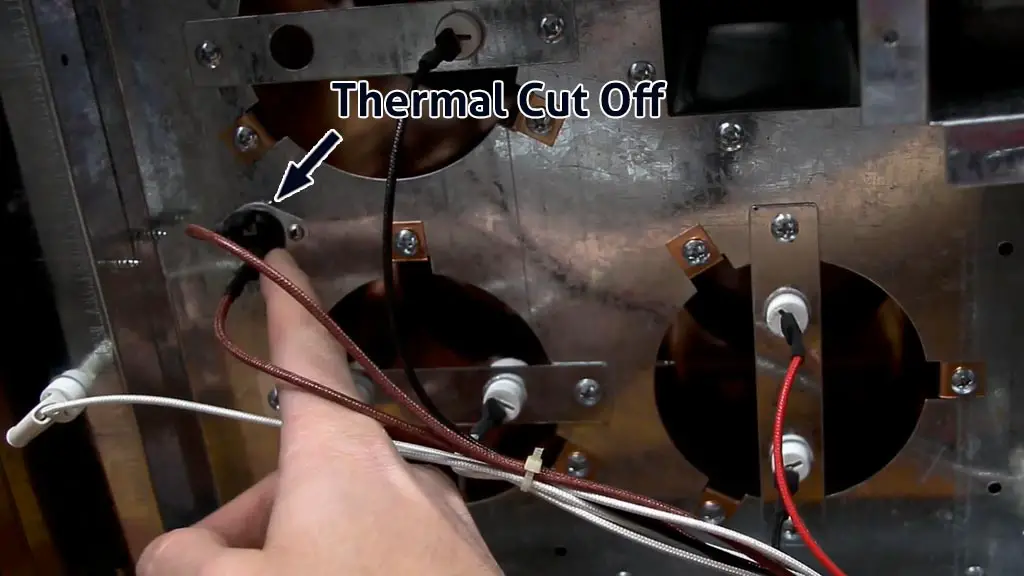
But, as you continue to use your heater, a thermal cutoff can also malfunction at times. If it activates unnecessarily, it can make the unit turn off prematurely. So, you won’t get hot air from the fan in this scenario.
Solution:
You’d have to disassemble the heater to inspect this issue further. Start by ensuring the unit is unplugged to avoid electrical hazards.
Then, locate and inspect the thermal cutoff for damage or irregularities. If you don’t know what you’re doing, stay away from this job. Because making any mistakes can lead to electric shocks, and there are warnings all over the heater to not open it.
But I am confident dealing with such parts, and I’ve fixed it many times. I’ll share the entire process with you. But please refrain from doing it if you don’t have enough experience working with them.
Step 01 – Disassembly and Inspection
Unplug the heater and locate the four clips securing the unit. Remove these clips carefully, allowing access to the inside. Depending on the model, the internal control panel may also need to be detached.
Use a screwdriver to remove any additional screws if necessary. Handle all components with care to prevent damage. Inside, you’ll find the blower fan, heating elements, and thermal cutoff.
Avoid touching capacitors, as they may still retain electrical charge. The thermal cutoff is a safety feature that stops the heater when it overheats. A faulty cutoff can cause the unit to turn off unexpectedly.
Step 02 – Testing the Thermal Cutoff
Use a multimeter set to ohms to test the thermal cutoff. Ensure the heater is unplugged before performing this step. Check for continuity between the terminals. Continuity indicates that the thermal cutoff is functioning correctly.
However, if shaking the heater causes a break in continuity, the thermal cutoff is defective and must be replaced. Once a faulty thermal cutoff is confirmed, replace it with a new part.
Never bypass the thermal cutoff for safety reasons, as it prevents overheating and potential fire hazards. Remove the thermal cutoff so that you can get a good look at its part number.
Then, use that part number to order a replacement thermal cutoff and wait for it to arrive. When you get it, install the new thermal cutoff securely and reassemble the heater.
Step 03 – Testing the Repair
After reassembly, plug the heater back in and test it. A functional unit should power on without requiring physical tapping or shaking. Allow it to run for a few minutes to ensure it heats properly.
Replacing a faulty thermal cutoff restores the heater’s functionality and maintains its safety features. If replacement parts are needed, they can typically be found online or at a local hardware store. Always follow proper safety precautions when working with electrical devices.
How Do I Make My Comfort Zone Heater Give Warmer Air?
There’s something I did that helped me take the performance of my heater from zero to hero. Let me tell you the story.
I once installed a Comfort Zone heater in my garage, thinking it would be the perfect solution to those freezing mornings. The fan worked, and warm air was coming out, but it didn’t feel nearly hot enough to make a difference.
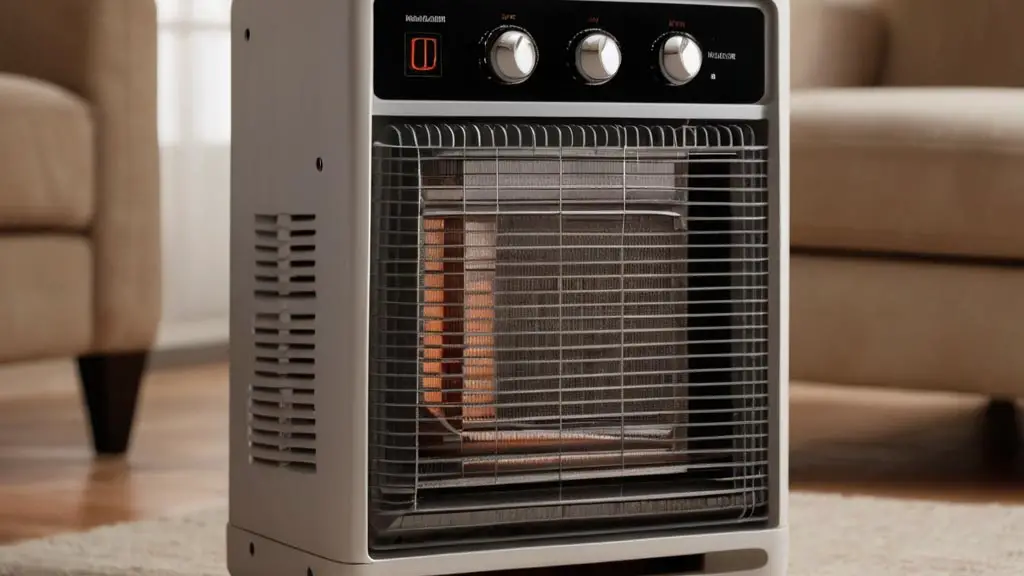
I double-checked the voltage, which was fine, and tried both heat settings, but the performance just wasn’t there. Naturally, I started wondering if the heating element should glow red because it wasn’t glowing at all.
After some research and discussions with others who owned similar heaters, I learned a few things. Most heaters like this don’t have red-hot elements. They’re designed to heat gradually, which means they take longer to warm up cold spaces, especially if those spaces are large or poorly insulated.
My garage, unfortunately, was uninsulated, with heat escaping through the ceiling and walls. Even with these tips in mind, I adjusted the thermostat and checked the fan to ensure it wasn’t stuck or damaged. But still, all I got was warm air that didn’t really make a noticeable difference.
Frustrated, I decided to contact the manufacturer to explain the issue. They suggested it might be a defective unit and agreed to send me a warranty replacement. When the new heater arrived, the difference was night and day.
This time, the air was very hot, and the space began warming up much faster. It turned out the original heater was, indeed, defective.
I also took one critical piece of advice to heart: insulation. Without it, no heater will perform well in a cold space. I installed foam boards on the walls and sealed the gaps in the ceiling.
This small effort made a huge difference. The heat stayed inside longer, and I didn’t have to run the heater as much, saving energy and making the space much more comfortable.
If your Comfort Zone heater isn’t working as expected, first check for obvious problems like a stuck fan or improper settings. If it’s still not blowing hot air, reach out to the manufacturer to rule out a defective unit.
And if you’re heating a cold or uninsulated area, adding insulation can greatly improve how effective the heater feels. Trust me, I’ve been there, and with a little troubleshooting and effort, it’s a problem you can fix!
What To Do If The Comfort Zone Heater Fan Isn’t Working At All.
So far, you know what to do when your heater doesn’t blow hot air or blow cold air. But there could be times when your fan doesn’t work at all. As unfortunate as it is, that can happen.
But don’t worry about it. You can get your Comfort Zone fan heater to work properly, as I have a dedicated guide on it. You can find all the potential reasons behind this issue along with the fixes. So, check it out.
FAQs:
Is it normal for the Comfort Zone heater to emit an odor during initial use?
Yes, it is normal to notice a slight odor or smoke during the heater’s first use. This is caused by the heating element’s lubrication burning off and will dissipate after a few minutes.
What are the available heat settings, and how do I use them?
The heater has three heat settings: LOW, HIGH, and ENERGY SAVE. Turn the Power Control dial to the desired setting, and use the Thermostat Control to adjust the temperature as needed.
How should I position the Comfort Zone heater during operation?
Always operate the heater in an upright position. Place it in the coldest area of the room to maximize its effectiveness.
How should I clean the Comfort Zone heater?
Disconnect the power cord and let the heater cool completely. Use a clean, damp cloth to wipe the exterior. Avoid using harsh chemicals, abrasive cleaners, or immersing the heater in water.
Conclusion
Now, you know the main reasons behind a Comfort Zone heater not blowing hot air along with the right solutions. Be patient in your diagnosis until you can diagnose the root issue and fix it.
I hope it’ll be a simple issue that will be resolved after you restart the heater. But if it still remains, go through the diagnosis. I believe you’ll be able to solve the problem. Learn how to make your Comfort Zone Heater work properly if it shuts off on its own.
